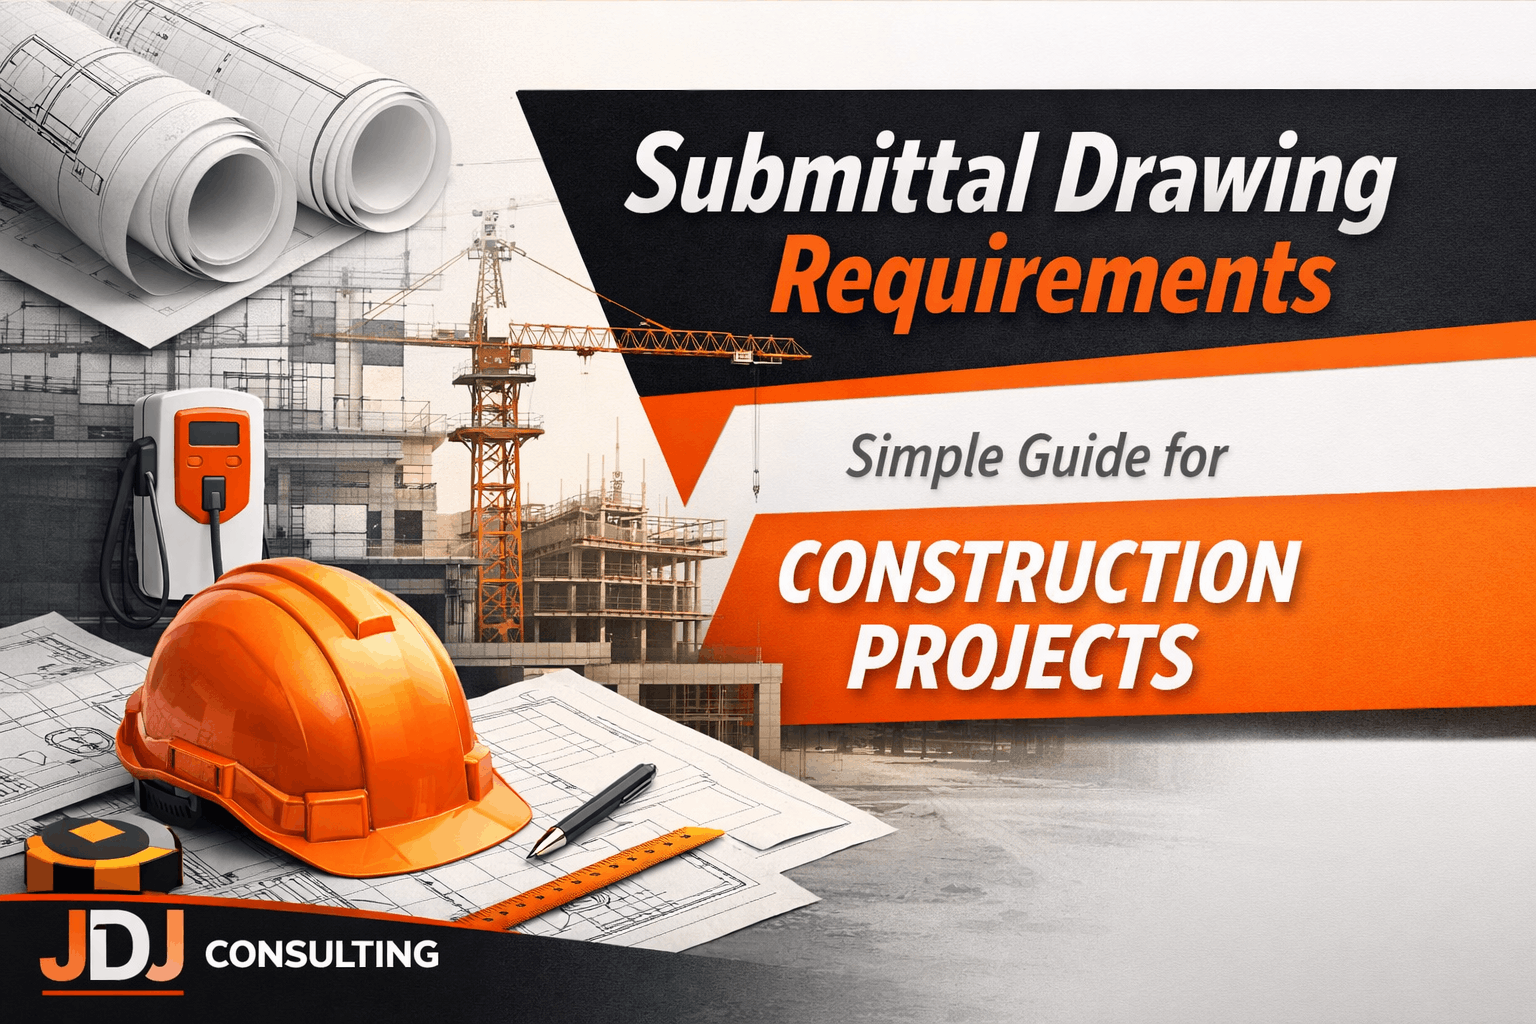
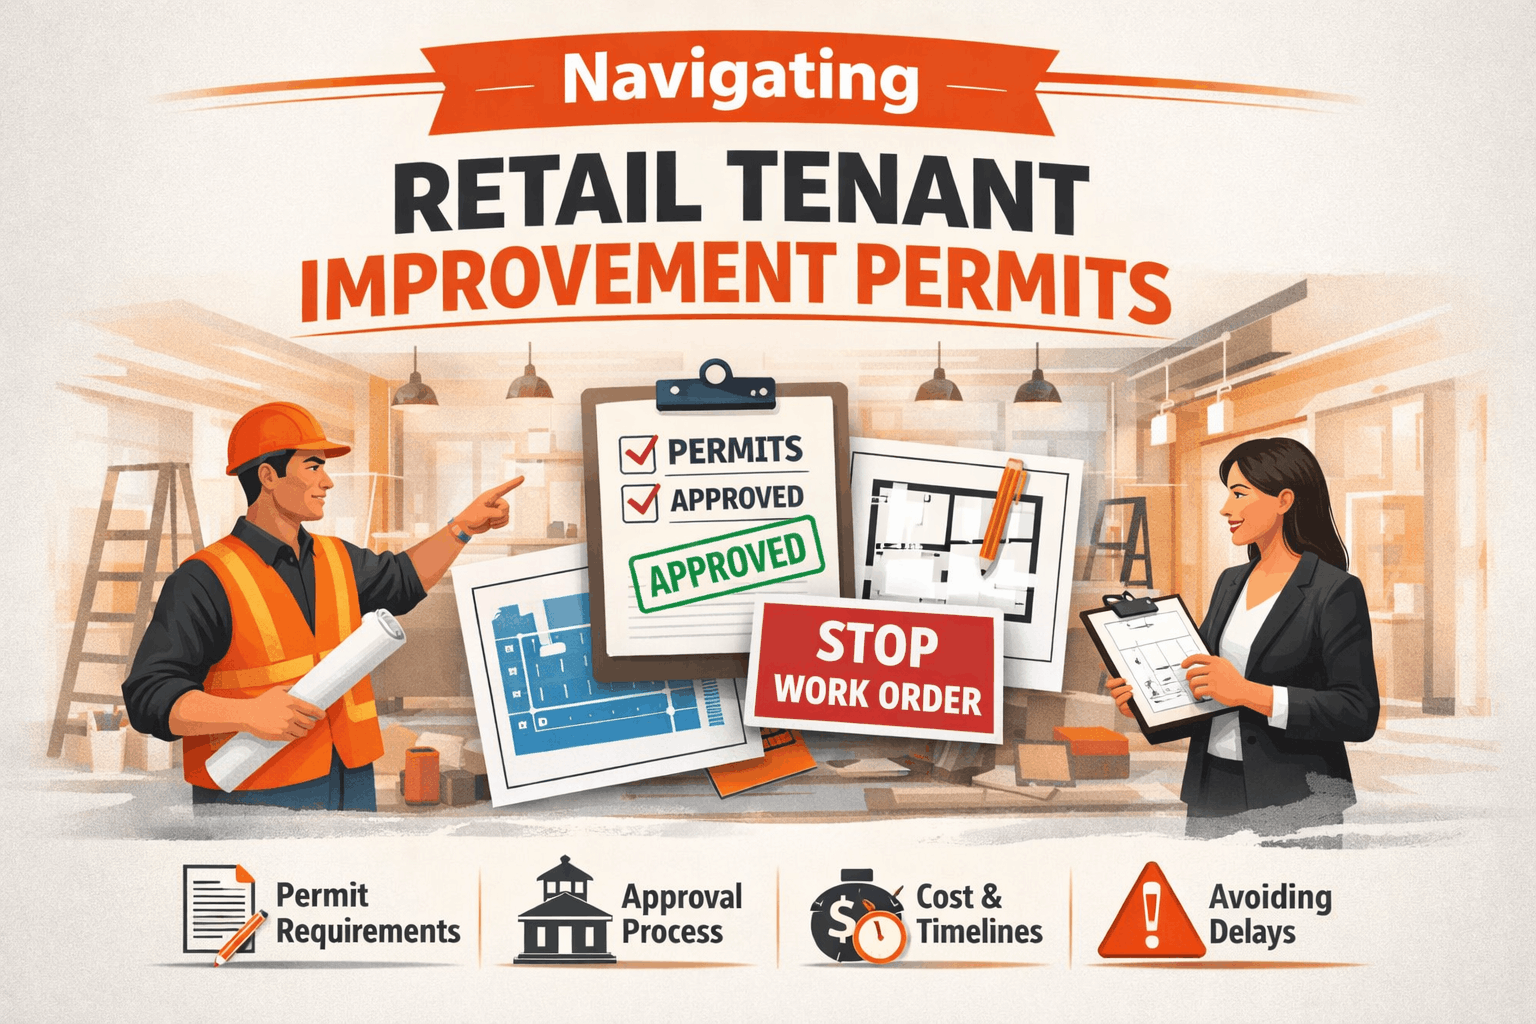
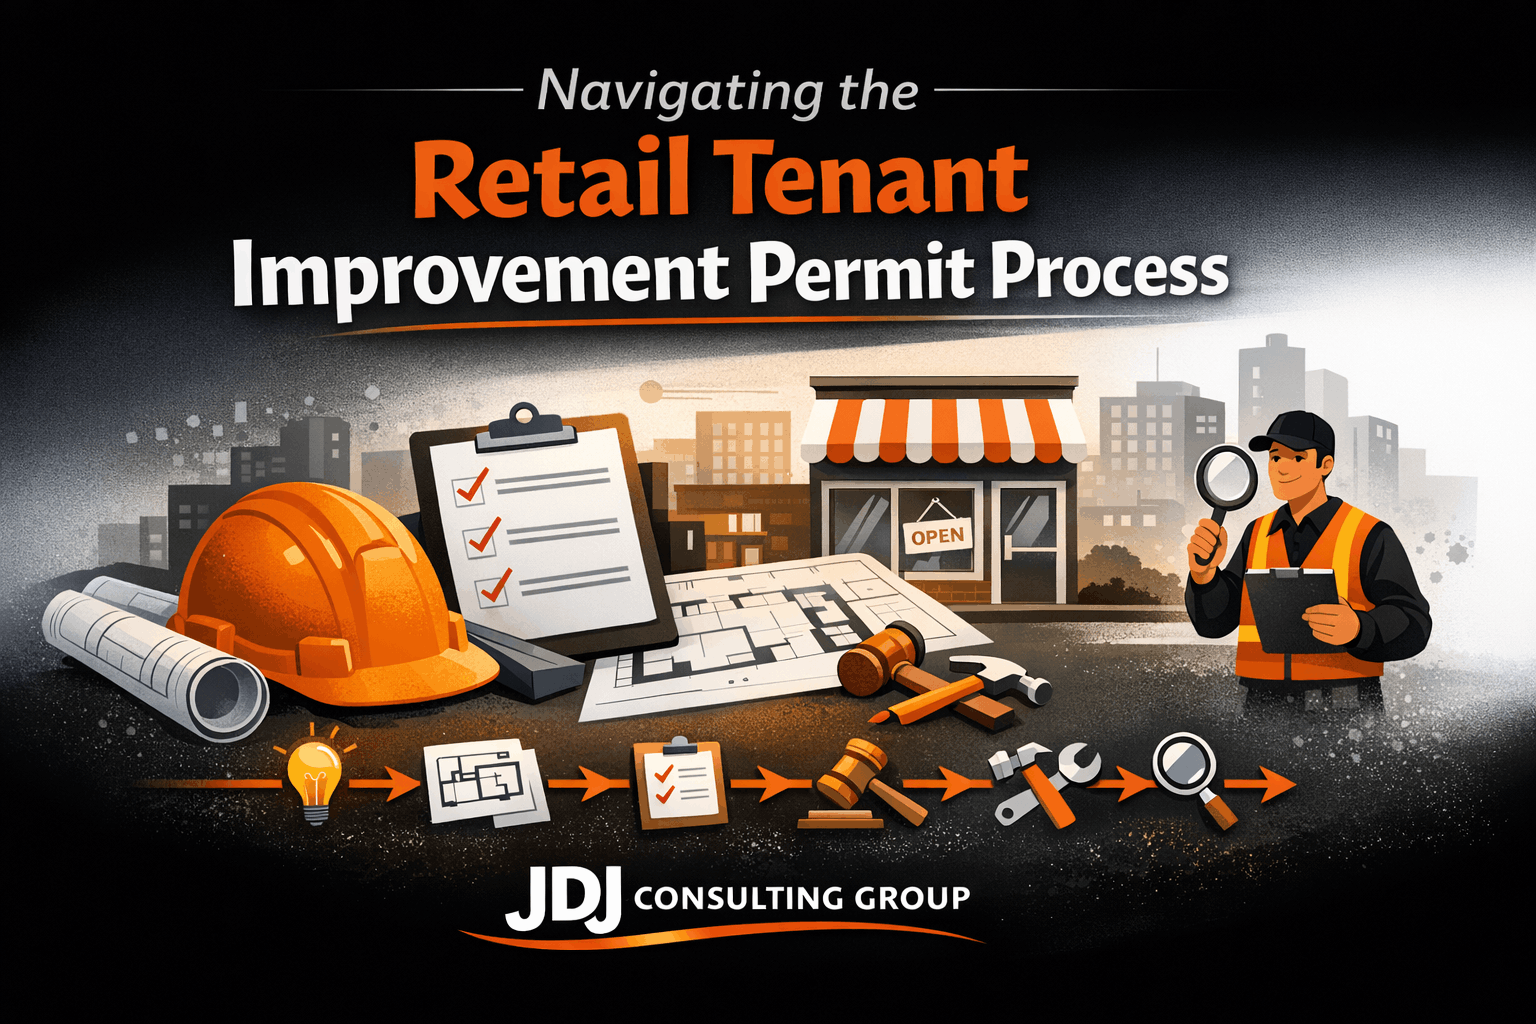
Opening a retail store takes more than a good location and a strong brand. Before you install fixtures or bring in inventory, you need to make sure your space is properly approved.
That’s where tenant improvement permits come in.
Tenant improvements (TI) are the changes you make to a leased space to fit your business. These can include layout updates, lighting, electrical work, or full build-outs. In most cases, these changes require permits from the city.
Many business owners see permits as a delay. However, they are a key part of the process. They ensure your space is safe, compliant, and ready for customers.
Without proper permits, projects can face serious issues. You may deal with stop-work orders, failed inspections, or delays in opening. In some cases, completed work may even need to be removed.
This guide breaks everything down in simple terms. You will learn:
-
What retail tenant improvements include
-
When permits are required
-
How the permitting process works step by step
-
Common mistakes and how to avoid them
-
Costs, timelines, and practical tips
Whether you are opening your first store or managing multiple locations, this guide will help you move forward with clarity. If you plan ahead and follow the right steps, you can avoid delays and open your retail space with confidence.
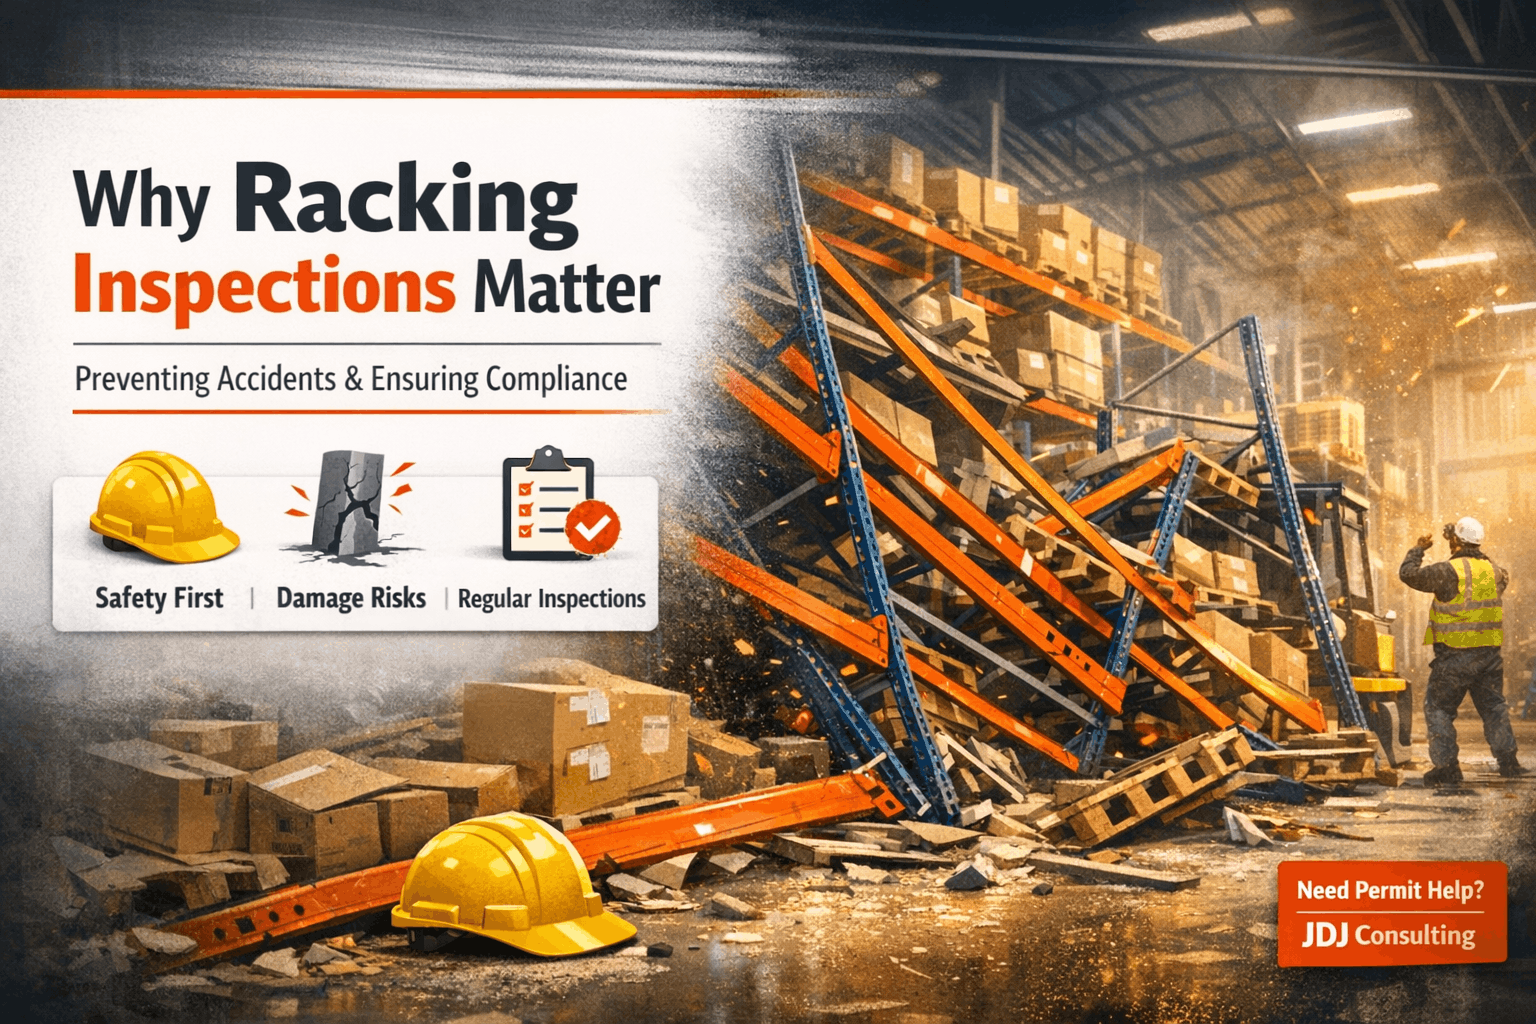
Why Retail Tenant Improvement Permits Matter
Opening a retail store is exciting. But before you set up shelves or install lighting, there’s one thing you cannot skip—permits. Tenant improvements (often called TI) are the changes you make to a leased space. These changes help turn an empty unit into a working retail store. Even small upgrades can require approval from the city. Permits may feel like a slow step. However, they protect your project from bigger problems later.
Why permits are required
Local authorities use permits to make sure your space is safe and compliant. They check for:
-
Structural safety
-
Fire protection systems
-
Electrical and plumbing standards
-
Accessibility (ADA compliance)
Without permits, there is no official review. That means risks stay hidden until something goes wrong.
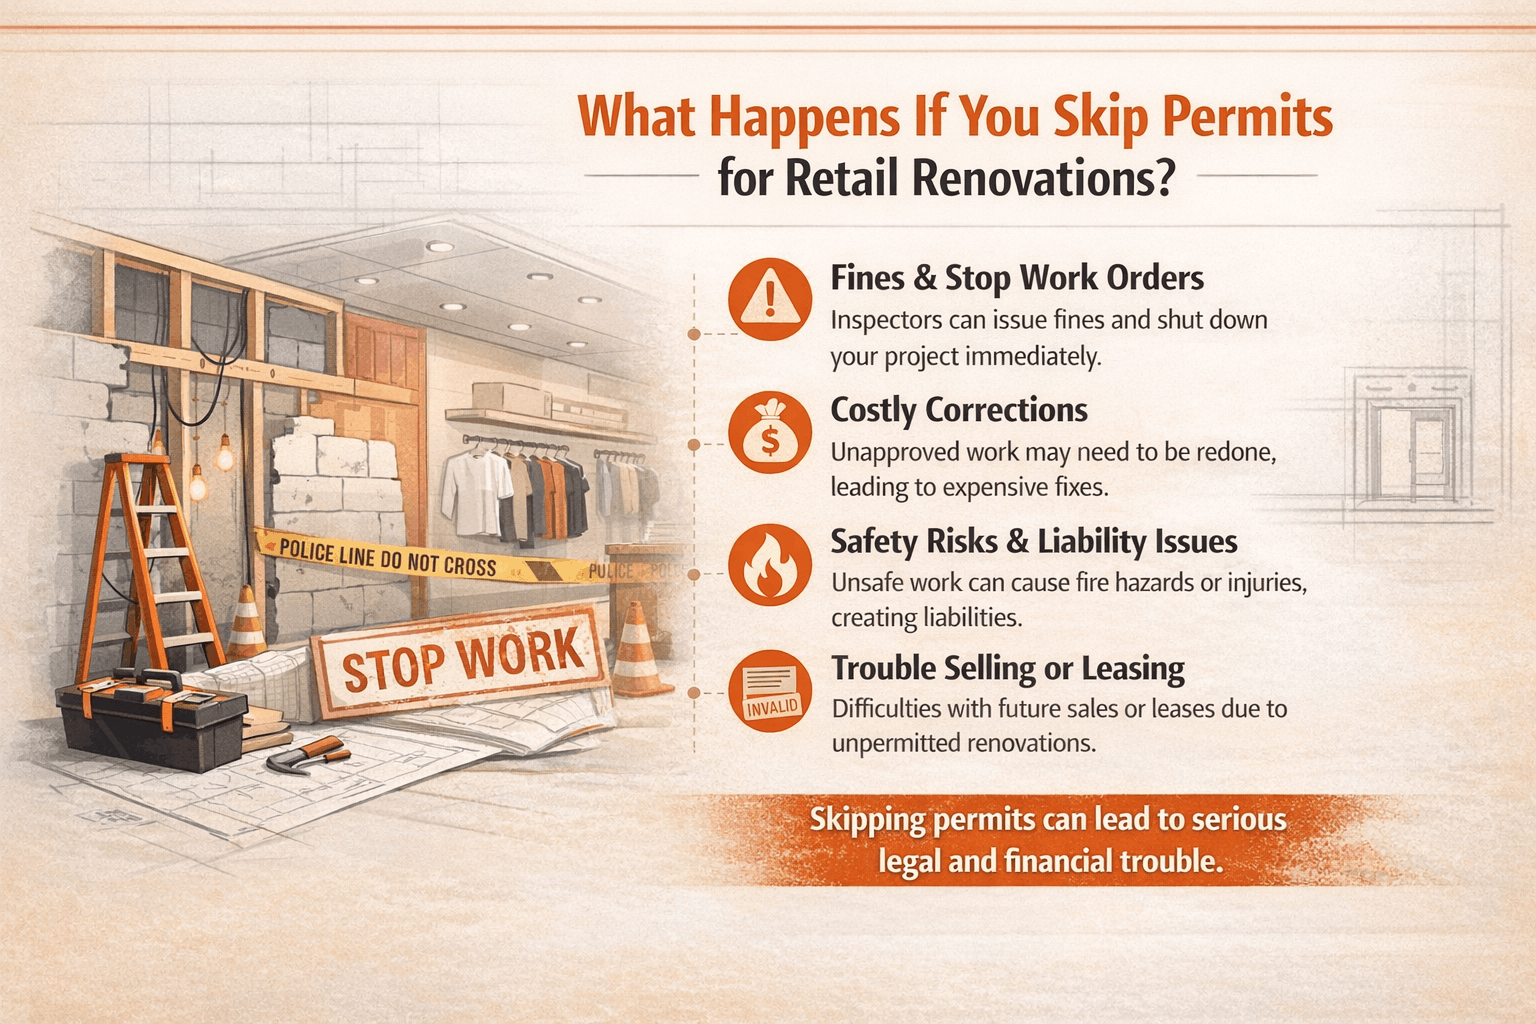
What happens if you skip permits
Some business owners try to save time by skipping permits. This often backfires.
Here’s what can happen:
-
Stop-work orders during construction
-
Fines and penalties
-
Failed inspections
-
Delays in opening your store
-
Problems when selling or leasing later
In some cases, you may even need to remove completed work and redo it.
How permits affect your timeline
Permits are not just paperwork. They shape your entire project schedule.
| Stage | With Proper Permits | Without Permits |
|---|---|---|
| Construction | Smooth and planned | Risk of sudden stoppage |
| Inspections | Scheduled and predictable | Failed or forced rework |
| Store Opening | On time | Delayed |
| Long-term Compliance | Safe and approved | Legal risks |
When handled correctly, permits actually save time. They prevent last-minute surprises.
Why this matters for retail spaces
Retail projects are different from office or warehouse spaces. You deal with customers every day. That means stricter rules.
For example:
-
Clear exit paths must be maintained
-
Lighting must meet safety standards
-
Fixtures must not block emergency routes
-
Restrooms must meet accessibility codes
Even your store layout can impact approval.
Where most projects go wrong
Many delays happen early in the process. Common issues include:
-
Incomplete drawings
-
Missing documents
-
Poor coordination between teams
-
Ignoring local code requirements
These problems can add weeks—or even months—to your timeline.
The bottom line
Permits are not just a requirement. They are part of building a safe, functional retail space. If you plan ahead and follow the process, you can avoid delays and open your store faster.
What Are Retail Tenant Improvements? (Simple Explanation)
Before diving into permits, it’s important to understand what tenant improvements actually include. In simple terms, tenant improvements are changes made to a commercial space so it fits your business. If you walk into an empty retail unit, it usually does not match your brand or layout. TI work transforms that space into a usable store.
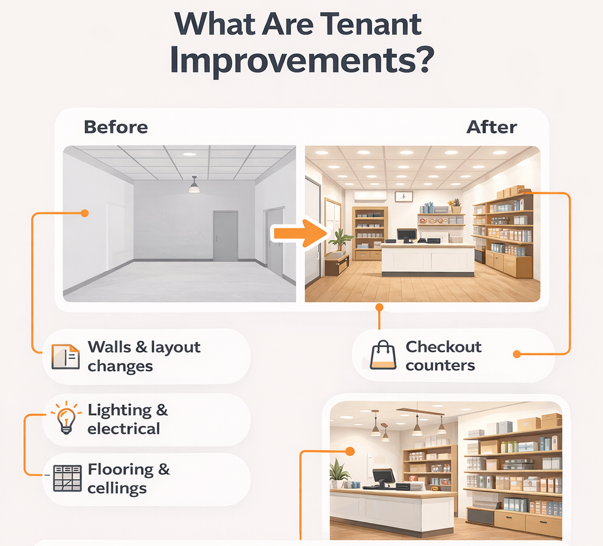
Definition of Tenant Improvements (TI)
Tenant improvements refer to any interior or structural changes made after leasing a space. These changes can range from basic updates to full build-outs.
Common examples include:
-
Installing flooring or ceilings
-
Adding or removing walls
-
Setting up lighting and electrical systems
-
Building checkout counters
-
Adding storage areas
In retail, these changes are often focused on customer experience and product display.
Types of Retail TI Projects
Not all projects are the same. Some are simple, while others are complex.
Here are the main types:
Cosmetic Improvements
-
Painting walls
-
Updating flooring
-
Minor design upgrades
These are usually quick but may still require permits depending on the scope.
Functional Improvements
-
Installing shelving or display units
-
Upgrading lighting systems
-
Improving store layout
These changes affect how the store operates.
Structural Changes
-
Moving or removing walls
-
Changing ceilings
-
Modifying entrances
These almost always require permits and detailed plans.
System Upgrades
-
Electrical rewiring
-
Plumbing work
-
HVAC updates
These are heavily regulated and must meet code requirements.
Retail vs Office Tenant Improvements
Retail spaces have different needs compared to offices.
Here’s a quick comparison:
| Feature | Retail Space | Office Space |
|---|---|---|
| Layout | Open, customer-focused | Private, work-focused |
| Safety | High foot traffic rules | Lower public access |
| Design | Branding and display | Function and productivity |
| Permits | Often stricter | Moderate |
Retail stores must consider customer movement, visibility, and safety at all times.
Why TI scope affects permits
The bigger your changes, the more approvals you need.
For example:
-
Changing paint may not need a permit
-
Moving walls will require full review
-
Electrical upgrades need inspections
Understanding your project scope early helps avoid confusion later.
Who is involved in TI projects
Tenant improvements usually involve multiple professionals:
-
Architects or designers
-
Engineers (for structural work)
-
Contractors
-
Permit expediters
Each plays a role in preparing documents and getting approvals.
Key takeaway
Tenant improvements are not just about design. They directly impact your permit requirements, budget, and timeline. The clearer your scope, the smoother your project will be.
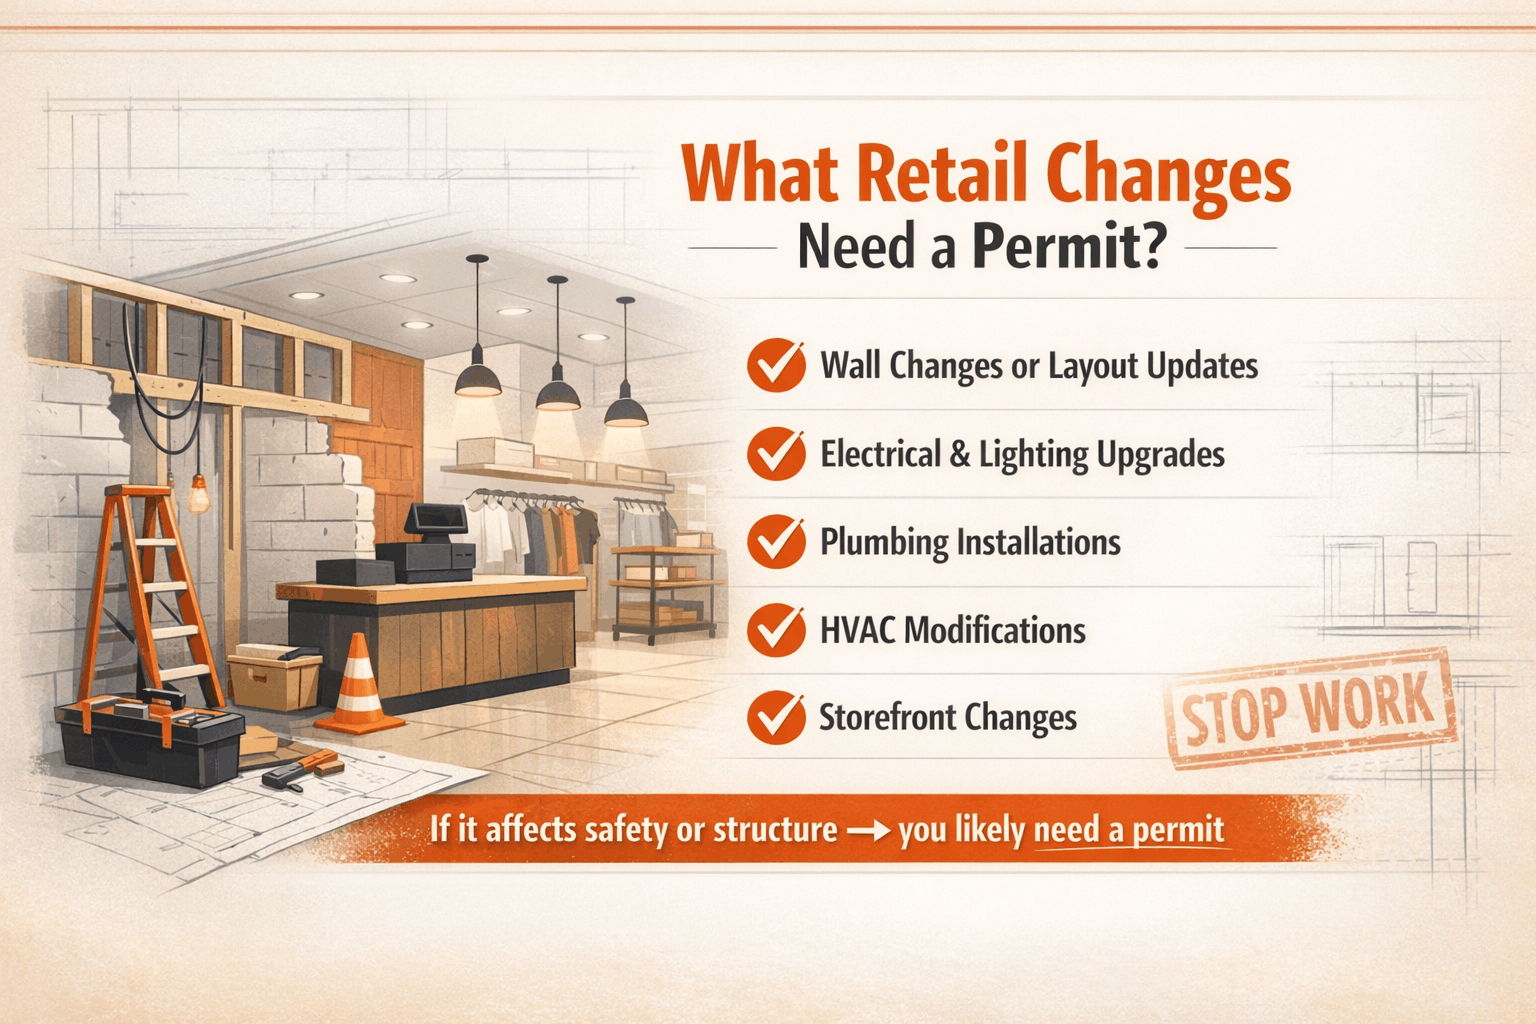
When Do You Need a Tenant Improvement Permit?
One of the most common questions is simple: Do I actually need a permit? The answer depends on what changes you plan to make. In most retail projects, the answer is yes.
Common scenarios that require permits
Most construction-related work needs approval. This includes:
-
Adding or removing walls
-
Changing store layout
-
Electrical upgrades or new wiring
-
Plumbing installations
-
HVAC system changes
-
Modifying storefronts or entrances
If your work affects safety, structure, or building systems, you will need a permit.
Work that may not require a permit
Some minor updates may not need approval. However, this varies by city.
Examples include:
-
Painting walls
-
Replacing flooring (in some cases)
-
Installing non-fixed fixtures
Even then, it’s always best to confirm with local authorities.
Types of permits required for retail TI
Retail projects often need more than one permit. Each covers a different part of the work.
Here are the main types:
| Permit Type | What It Covers |
|---|---|
| Building Permit | Structural changes, walls, layout |
| Electrical Permit | Wiring, lighting, panels |
| Mechanical Permit | HVAC systems |
| Plumbing Permit | Pipes, fixtures, restrooms |
Some projects require all of these permits at the same time.
Change of use and occupancy permits
If your retail space changes purpose, you may need additional approvals.
For example:
-
Converting office space into retail
-
Changing from storage to customer-facing use
This triggers a deeper review process. It may involve zoning and safety updates.
Why permits vary by location
Permit requirements are not the same everywhere. Each city or county has its own rules.
Factors that affect requirements include:
-
Local building codes
-
Zoning regulations
-
Property type
-
Project size
Because of this, working with professionals can save time and reduce errors.
Signs you should double-check permit needs
If you are unsure, look for these signs:
-
You are hiring a contractor
-
You are modifying systems (electrical, plumbing, HVAC)
-
You are changing layout or structure
-
You are opening a new retail business
In these cases, you should always confirm before starting work.
What happens after determining permit needs
Once you confirm that permits are required, the next steps include:
-
Preparing drawings
-
Submitting applications
-
Waiting for plan review
This process will be covered in the next section of the guide.
Key takeaway
If your project changes how a space looks, works, or operates, you likely need a permit. It’s always better to check early than fix problems later.
Step-by-Step Retail Tenant Improvement Permitting Process
Once you confirm that your project needs permits, the next step is to follow a clear process. This is where most retail projects succeed—or get delayed. The good news is that the process is predictable. If you understand each step, you can plan better and avoid common issues.
Step 1: Pre-Planning and Feasibility Check
Before any drawings or applications, you need to confirm that your project is even allowed. This step is often skipped. However, it can save weeks later.
Start with zoning and property checks:
-
Is retail use allowed in this location?
-
Are there restrictions on signage or storefront changes?
-
Does the building have capacity for your upgrades (power, HVAC)?
Next, review your lease. Many leases include rules about:
-
Who is responsible for permits
-
What changes are allowed
-
Approval from the landlord
You should also define your project scope early. This includes layout, systems, and design goals. Why this step matters: It prevents redesigns later and keeps your project realistic.
Step 2: Design and Construction Drawings
Once your project is confirmed, you move into design. This is where your ideas turn into technical drawings that the city will review.
Typical drawings include:
-
Floor plans
-
Electrical layouts
-
Plumbing plans
-
HVAC designs
If your project includes structural changes, you may also need engineering calculations. Most cities require plans to be prepared by licensed professionals.
Here’s a simple breakdown:
| Drawing Type | Purpose |
|---|---|
| Architectural Plans | Layout, walls, finishes |
| Electrical Plans | Lighting, outlets, panels |
| Mechanical Plans | HVAC systems |
| Plumbing Plans | Water and drainage |
These drawings must follow local building codes. They should also include safety details like exits and accessibility. Tip: Clear and complete drawings reduce review comments and speed up approvals.
Step 3: Submitting the Permit Application
After your plans are ready, you submit your application. This can be done online or in person, depending on the city. A typical submission includes:
-
Permit application form
-
Construction drawings
-
Owner or landlord authorization
-
Contractor details
-
Project valuation
Some cities also require energy compliance reports or additional forms. Make sure everything is complete before submission. Missing documents can delay the review. What happens after submission: Your project enters the plan review phase.
Step 4: Plan Review and Corrections
This is the most critical step in the process. City departments review your plans to ensure compliance.
Common departments include:
-
Building
-
Planning
-
Fire
-
Health (in some retail types like food stores)
Each department checks specific requirements.
For example:
-
Fire reviews exits and alarms
-
Building checks structural safety
-
Planning verifies zoning compliance
In most cases, you will receive comments or corrections. This is normal.
You will need to:
-
Update your drawings
-
Respond to comments
-
Resubmit for review
This cycle may happen more than once.
Why delays happen here:
-
Incomplete drawings
-
Code violations
-
Poor coordination between teams
Step 5: Permit Approval and Issuance
Once all departments approve your plans, your permit is issued.
At this stage, you will:
-
Pay permit fees
-
Receive approved (stamped) plans
-
Get official authorization to start work
Do not begin construction before this step. Starting early can lead to penalties or stop-work orders.
Step 6: Construction Phase
Now construction begins. However, permits are still active during this phase. You must follow the approved plans exactly. Any changes may require revisions. Inspections will be scheduled at different stages.
Common inspections include:
-
Framing inspection
-
Electrical rough inspection
-
Plumbing inspection
-
Final inspection
Your contractor usually handles scheduling, but you should stay involved.
Step 7: Final Inspection and Certificate of Occupancy
This is the final step before opening your store.
Inspectors will verify that:
-
Work matches approved plans
-
Safety systems are functional
-
Code requirements are met
If everything passes, you receive final approval. In many cases, you will also receive a Certificate of Occupancy (CO). This document confirms that your space is safe and ready for use. Without it, you may not be allowed to open.
Quick Process Summary
| Step | What Happens | Key Outcome |
|---|---|---|
| Pre-planning | Zoning + feasibility check | Project viability confirmed |
| Design | Drawings created | Plans ready for submission |
| Submission | Application filed | Review begins |
| Review | City checks plans | Corrections issued |
| Approval | Permit issued | Construction allowed |
| Construction | Work + inspections | Compliance verified |
| Final | Inspection + CO | Store can open |
Key takeaway
The permitting process is detailed, but it is not complicated if handled correctly. Each step builds on the previous one. Missing one step can delay everything. Planning ahead and working with experienced professionals can make the process much smoother.
Retail Tenant Improvement Permit Requirements Checklist
Before submitting your permit, you need to gather the right documents. Many delays happen because something is missing or incomplete. This checklist will help you stay organized.
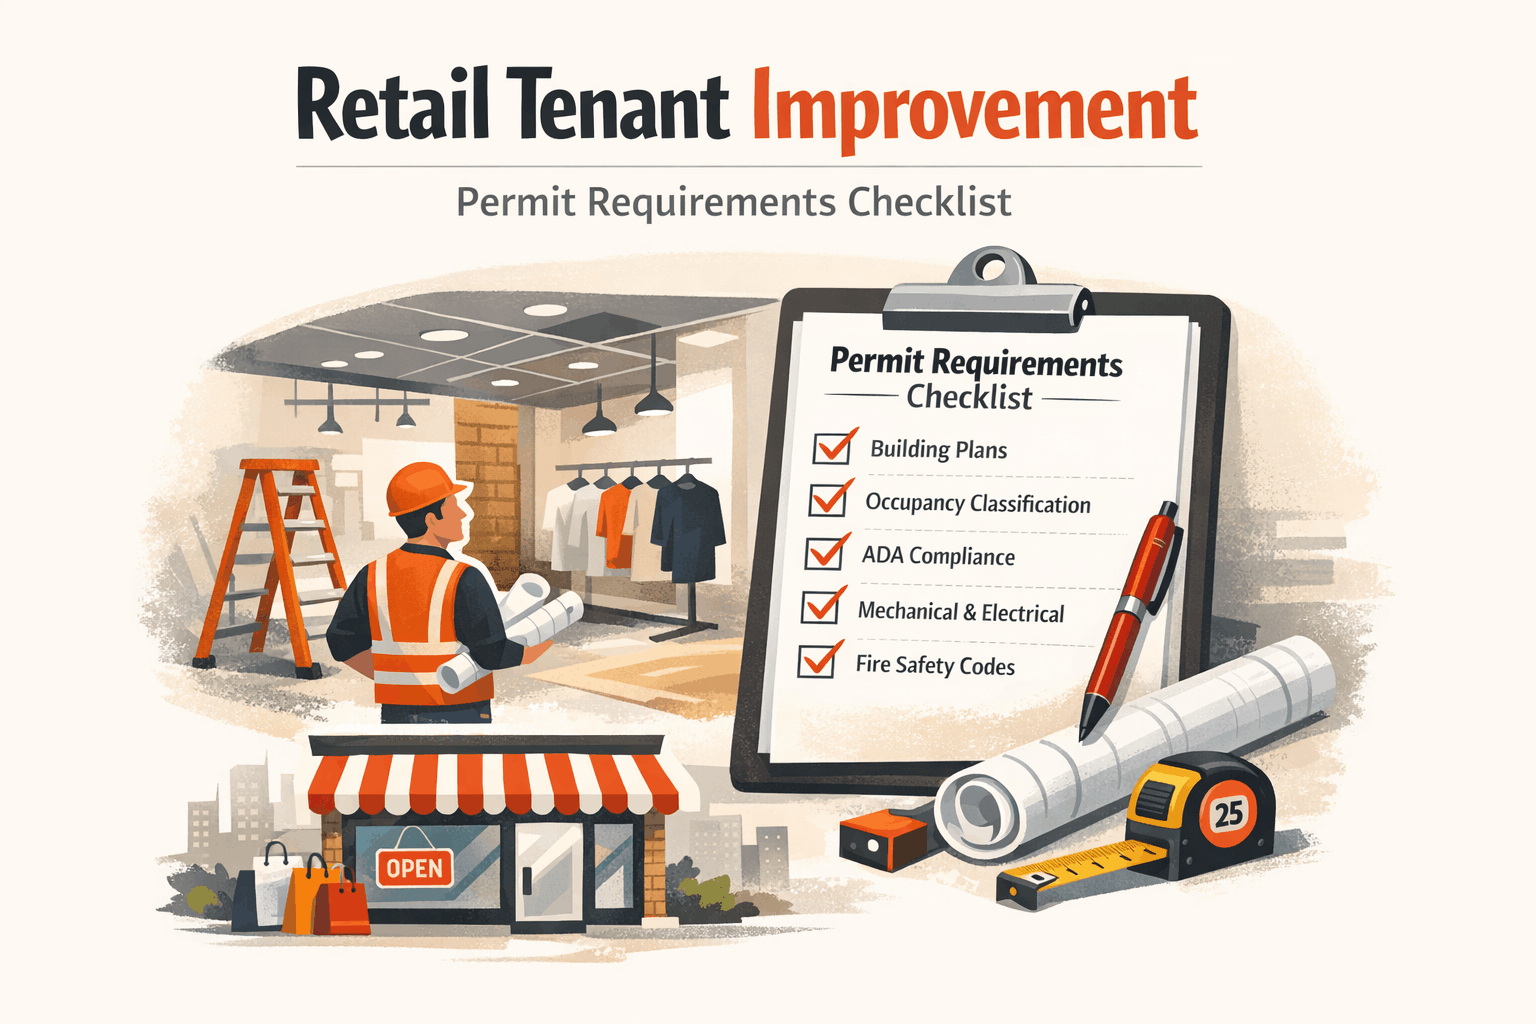
Required Documents for Submission
Most cities ask for a standard set of documents.
Here are the most common ones:
-
Completed permit application
-
Architectural drawings
-
Structural calculations (if needed)
-
Electrical, mechanical, and plumbing plans
-
Site plan or layout
-
Energy compliance reports (in some states)
Each document must match your project scope. If your plans show electrical work, you must include electrical drawings.
Detailed Document Checklist
| Document | Required For |
|---|---|
| Permit Application | All projects |
| Architectural Plans | Layout and design changes |
| Structural Calculations | Wall or structural changes |
| Electrical Plans | Lighting and power work |
| Mechanical Plans | HVAC updates |
| Plumbing Plans | Restroom or water changes |
| Site Plan | Location and layout context |
Required Professionals
You cannot always prepare everything on your own. Most retail TI projects require licensed professionals.
These may include:
-
Architect or designer
-
Structural engineer (if needed)
-
Licensed contractor
In many cities, plans must be signed or stamped. This confirms that they meet professional standards.
Additional Requirements to Watch For
Some projects need extra approvals.
For example:
-
Fire department approval for alarm systems
-
Health department approval for food-related retail
-
Landlord approval for leased spaces
Always confirm these early.
Common mistakes in permit submissions
Small errors can cause big delays.
Watch out for:
-
Missing signatures
-
Outdated drawings
-
Inconsistent information across documents
-
Incorrect project valuation
Double-check everything before submission.
How to stay organized
Here are a few simple tips:
-
Keep all documents in one folder
-
Label files clearly
-
Track submission status
-
Respond quickly to review comments
Good organization speeds up the entire process.
Key takeaway
A complete and accurate submission is the fastest way to get approved. Missing even one document can delay your project by weeks.
Key Codes and Regulations You Must Follow
Permits are not just about approval. They are about compliance. Your retail space must follow several codes and regulations. These rules ensure safety, accessibility, and proper use of the building.
Building Codes
Building codes focus on structural safety and construction standards.
They cover:
-
Wall construction
-
Ceiling systems
-
Load-bearing elements
-
Occupancy limits
If your project changes the structure, this becomes a major focus.
Fire and Life Safety Codes
Retail spaces must be safe for the public. Fire codes are strict and carefully reviewed.
They include:
-
Exit routes and clear paths
-
Fire alarms and sprinkler systems
-
Emergency lighting
-
Fire-rated materials
Your layout must allow safe evacuation at all times.
ADA Accessibility Requirements
Accessibility is a key part of retail design. Your space must be usable for everyone.
This includes:
-
Accessible entrances
-
Proper door widths
-
ADA-compliant restrooms
-
Clear pathways inside the store
Ignoring ADA requirements can lead to failed inspections.
Zoning and Land Use Compliance
Zoning determines what type of business can operate in a space.
Before approval, the city checks:
-
Whether retail use is allowed
-
Parking requirements
-
Signage restrictions
If your use does not match zoning, you may need additional approvals.
Quick Code Overview
| Code Type | What It Covers |
|---|---|
| Building Code | Structure and construction |
| Fire Code | Safety and emergency systems |
| ADA Code | Accessibility requirements |
| Zoning Code | Land use and property rules |
Why compliance matters
Failing to meet code requirements can result in:
-
Permit rejection
-
Costly redesigns
-
Inspection failures
-
Delayed opening
Following codes from the start saves time and money.
Key takeaway
Codes are not optional. They are part of every retail TI project. Understanding them early helps you design smarter and avoid delays.
Timeline: How Long Retail Tenant Improvement Permits Take
One of the biggest concerns for retail owners is timing. You want to open your store as soon as possible. However, permits take time. The exact timeline depends on your project, location, and how well your documents are prepared.
Typical Permit Timeline Breakdown
Here’s a general timeline for most retail tenant improvement projects:
| Phase | Estimated Time |
|---|---|
| Pre-planning | 1–3 weeks |
| Design and drawings | 2–6 weeks |
| Plan review | 2–8 weeks |
| Corrections and resubmittals | 1–3 weeks |
| Final approval | 1–2 weeks |
In total, most projects take 6 to 16 weeks before construction can begin.
What affects permit timelines
Not all projects move at the same speed. Several factors can slow things down.
Project complexity
A simple retail refresh moves faster than a full remodel.
-
Minor upgrades → quicker approval
-
Structural changes → longer review
City workload
Some cities process permits faster than others. Busy areas often have longer review times.
Quality of your plans
Clear and complete drawings move faster through review. Incomplete plans lead to corrections and delays.
Number of departments involved
Retail projects often require multiple approvals. More departments = more time.
Fast-track vs standard permits
Some cities offer faster review options.
Here’s how they compare:
| Type | Timeline | Best For |
|---|---|---|
| Standard Review | 4–12 weeks | Most projects |
| Expedited Review | 1–4 weeks | Urgent timelines |
| Over-the-Counter | Same day–1 week | Very small projects |
Fast-track options may cost more, but they can save weeks.
How to plan your project timeline
To avoid delays, build your schedule in phases:
-
Start design early
-
Submit complete documents
-
Plan for at least one correction cycle
-
Avoid last-minute changes
Also, align your construction schedule with permit approval. Do not assume approval will happen instantly.
Key takeaway
Permits take time, but delays are often preventable. If you plan ahead and submit strong documents, you can stay on schedule and open your store sooner.
Common Mistakes That Delay Retail Permits
Many retail projects get delayed for avoidable reasons. Understanding these mistakes can help you stay ahead.
Incomplete applications
This is the most common issue. Missing documents or incorrect forms can stop your application before review even begins.
Examples include:
-
Missing drawings
-
No signatures
-
Incomplete application details
Even small gaps can cause delays.
Code compliance issues
Plans must meet building, fire, and accessibility codes. If they don’t, you will receive corrections.
Common issues include:
-
ADA non-compliance
-
Improper exit layouts
-
Electrical or fire safety gaps
Fixing these takes time and may require redesign.
Poor coordination between teams
Retail projects involve multiple people. If your architect, contractor, and engineer are not aligned, problems arise.
This can lead to:
-
Conflicting drawings
-
Incorrect information
-
Delays in revisions
Clear communication is critical.
Scope changes during review
Changing your design mid-process is risky. It can reset parts of the review and add weeks to your timeline. Try to finalize your design before submission.
Ignoring local requirements
Every city has its own rules. Using generic plans without checking local codes can lead to rejection. Always verify local requirements before submitting.
Quick mistake overview
| Mistake | Impact |
|---|---|
| Missing documents | Application delays |
| Code violations | Multiple correction cycles |
| Poor coordination | Conflicting plans |
| Scope changes | Restarted reviews |
| Ignoring local rules | Rejections |
Key takeaway
Most delays are preventable. If you stay organized and work with the right team, your permit process will move much faster.
How to Speed Up the Tenant Improvement Permit Process
While you cannot skip the process, you can make it faster. Here are practical ways to keep your project moving.
Pre-application meetings
Many cities offer early meetings before submission.
These help you:
-
Confirm requirements
-
Identify potential issues
-
Get feedback on your plans
This step can prevent major corrections later.
Hire a permit expediter
A permit expediter understands the system.
They help with:
-
Submissions
-
Communication with city departments
-
Handling corrections
This can save both time and effort.
Submit complete and accurate plans
This is one of the biggest time-savers.
Make sure your plans:
-
Match your project scope
-
Include all required details
-
Follow local codes
Complete plans reduce back-and-forth with reviewers.
Respond quickly to corrections
When you receive comments, act fast. Delays in response can slow down your approval. Work closely with your design team to fix issues quickly.
Use fast-track options when available
If your timeline is tight, check if your city offers expedited review. This can cut approval time significantly.
Avoid unnecessary changes
Once your plans are submitted, avoid making changes. Each change can trigger a new review cycle.
Simple speed-up checklist
-
Start planning early
-
Work with experienced professionals
-
Double-check documents
-
Communicate clearly with your team
-
Stay responsive during review
Key takeaway
You cannot control everything, but you can control preparation. Good planning and the right support can reduce delays and help you open faster.
Cost Breakdown for Retail Tenant Improvement Permits
Understanding costs helps you plan your budget better. Permit costs vary based on project size, location, and complexity.
Permit fees
Most cities calculate permit fees based on project value. The higher your construction cost, the higher your permit fee.
These fees cover:
-
Plan review
-
Inspections
-
Administrative processing
Design and engineering costs
Before permits, you need professional drawings.
Costs may include:
-
Architectural design
-
Engineering services
-
Code compliance planning
These are essential for approval.
Inspection and additional fees
During construction, inspections may involve extra costs.
These can include:
-
Re-inspection fees (if you fail)
-
Special inspections (for structural work)
Hidden costs to watch for
Some costs are not obvious at the start.
Watch for:
-
Plan revisions
-
Expedited review fees
-
Impact fees (in some cities)
-
Utility upgrades
Estimated cost breakdown
| Cost Type | Typical Range |
|---|---|
| Permit Fees | $1,000 – $10,000+ |
| Design Costs | $2,000 – $15,000+ |
| Engineering | $1,000 – $8,000+ |
| Inspection Fees | $200 – $2,000+ |
Costs vary widely depending on project scope.
How to control costs
You can manage costs by:
-
Finalizing design early
-
Avoiding multiple revisions
-
Hiring experienced professionals
-
Planning for contingencies
Key takeaway
Permit costs are part of your investment. Planning ahead helps you avoid unexpected expenses and stay within budget.